
Utilizing a sharpening mop is a important system essential by all jewellers who function principally with treasured metals, and it’s a procedure that necessitates exercise to grasp.
No matter whether you are just commencing out, or you are a seasoned jewelry maker searching for some further guidelines, read our guideline on how to use a sharpening mop correctly. When mastered you can polish and improve the glow on a gorgeous piece of jewellery making use of your metal sprucing mops.
How Do I Buff Jewellery Utilizing Polishing Mops?
Buffing is the approach of sprucing metallic utilizing a polishing mop or buffing wheel, which is coated with a sprucing compound or jeweller’s rouge. The sprucing mop holds the polishing compound although the compound is the free abrasive that cuts the metal.
What are the various kinds of sprucing mops?
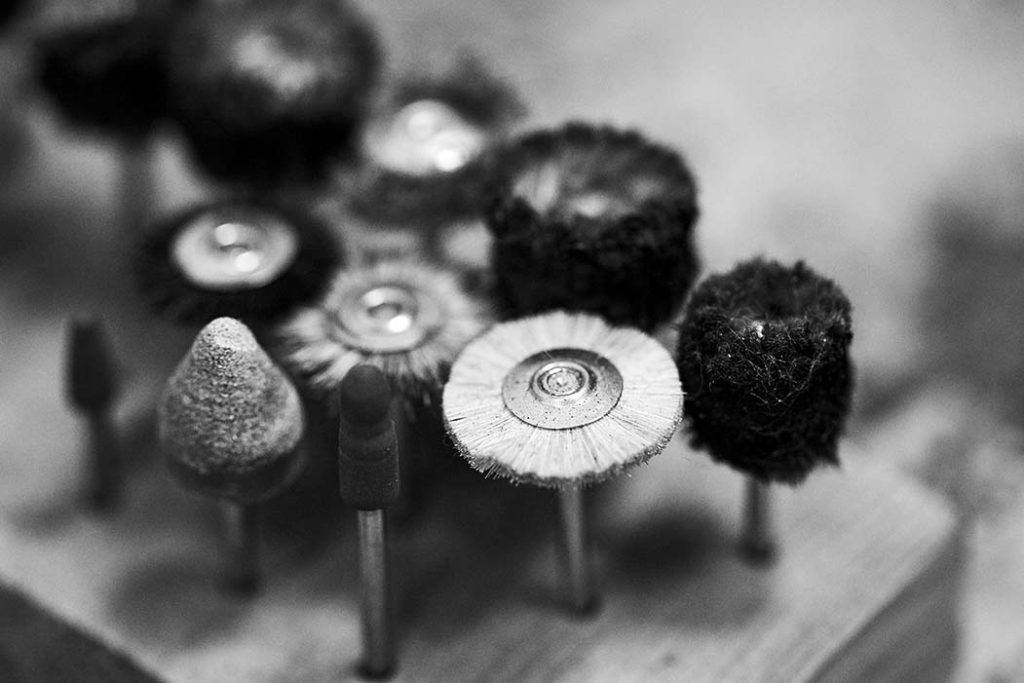
Right before you understand how to use a sprucing mop with your jewellery items, you are going to require to get to grips with the distinctive kinds of wheels and mops accessible to you. Study our committed posts on unique forms of buffing wheels and sharpening mops, as well as the distinct forms of sprucing compounds ahead of you get began to master the basic principles of sprucing, and which sprucing mops and compounds you really should be utilizing for your ideal outcome.
How do you use a sprucing mop successfully
Here’s the buffing and sprucing procedure from start to finish. Use this as a tutorial as you begin sharpening your items in the remaining levels of your jewellery generation
Phase Just one: Cleanse Your Metallic
Just before you get started buffing and sprucing, you are going to require to clean up your metal extensively. When there is dirt or residue still left on the steel right after forming, it can be challenging to plainly see if there are scratches on the floor. Cleansing with an ultrasonic cleaner or pumice powder before you polish will give you
a a lot better strategy of how far to acquire the sprucing procedure to remove any scratches that have occurred in the process of making the piece.
Stage Two: Don Protection Protection
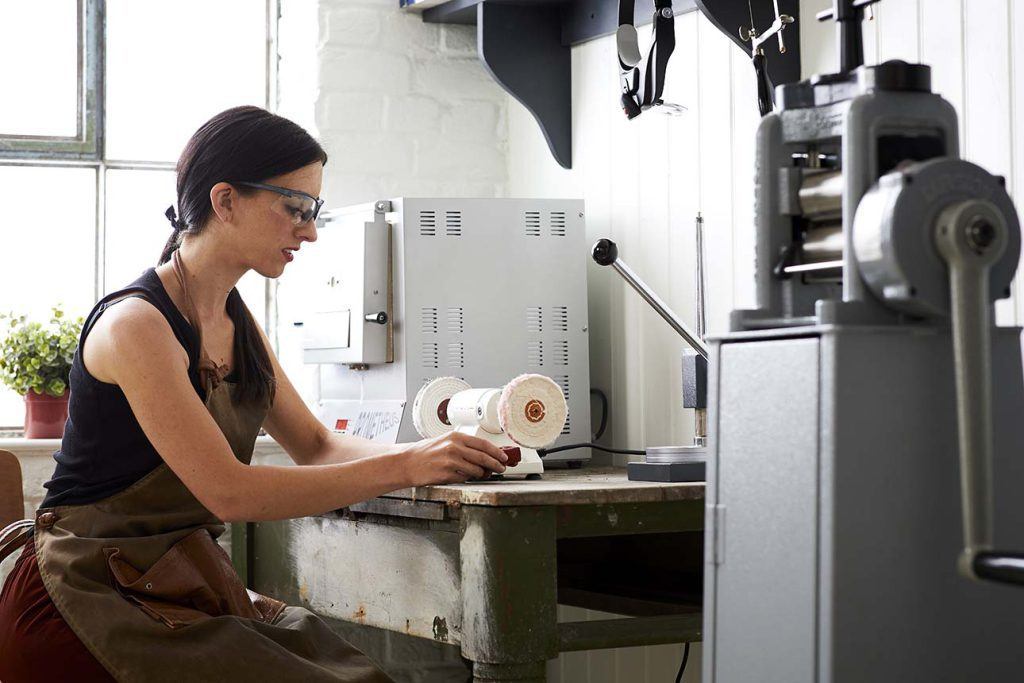
Make guaranteed you have entry to protecting eyewear forward of setting up your sharpening motor- Security goggles or a encounter defend are perfect. Finger defense tape will guard your hands from friction as the sharpening mop rotates and you start out to polish. Try to remember to tie hair back and roll up sleeves to avert them catching in the mop as it rotates, and don an apron to guard your apparel. Nevertheless make sure you do not have on gloves although this is temping, they can get caught inside of the motor, producing critical damage
Phase 3: Select The Right Polishing Mop
Now you are completely ready to select your polishing compound and polishing mop. To start out with, you’ll will need to pick a stiffer buff, such as a tricky calico mop. You are going to also have to have to commence with a coarse sharpening compound relative to the material you are working with. For case in point, if you’re doing work with gold you may want to start with a brown Tripoli compound. If you are operating with base metal you could want to begin with a yellow or blue Luxi compound.
The process of using a motorised polishing mop and polishing compounds is identical to using sandpaper – begin with the coarsest compound to start with and do the job your way as a result of to the finer compounds to build glow.
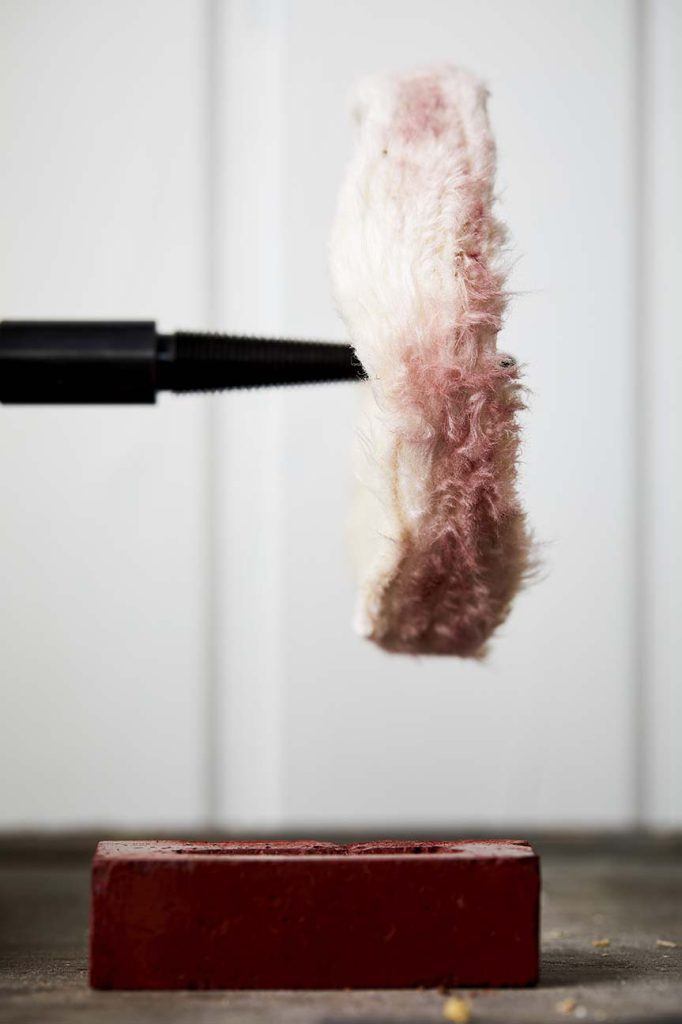
Step Four: Put together Your Sprucing Mop
As soon as you have chosen the suitable sprucing compound for your piece, you can now apply it to the sharpening. You can do this by slowly and gradually spinning the motorised sprucing mop and evenly pressing the compound from the spinning buff. Only a smaller quantity needs to be utilized to the wheel for the compound to consider effect as you polish, do not overload your sharpening wheels as this could hinder the finished outcome.
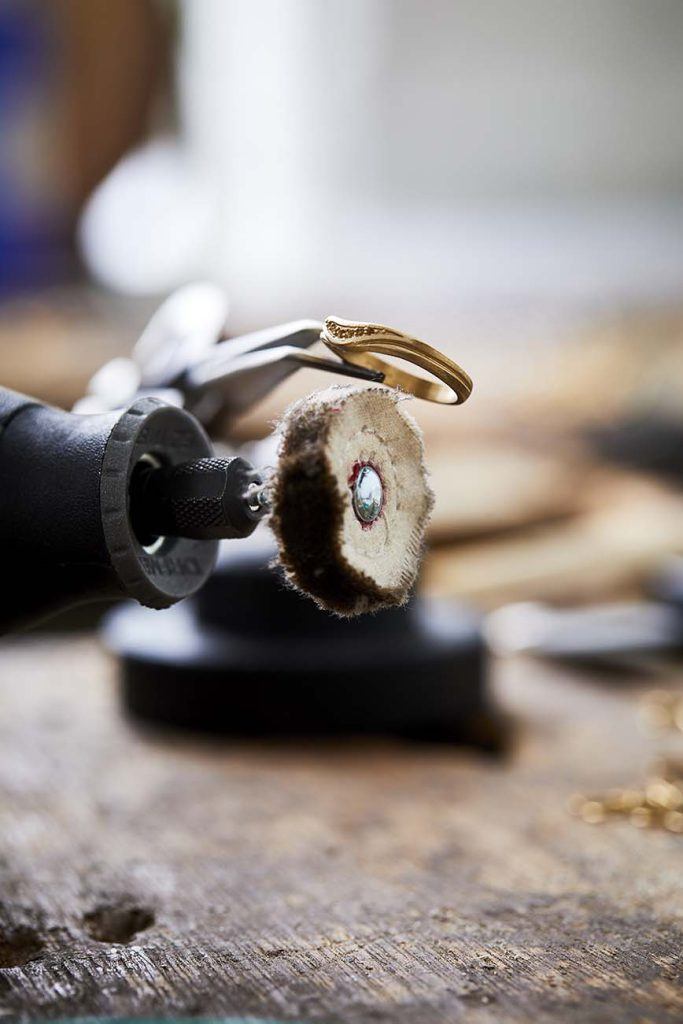
Phase 5: Applying Your Sprucing Mop
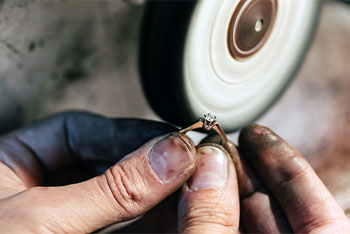
Now you can get to get the job done. Hold the piece you are performing with versus the wheel as it spins, applying only a modest sum of tension. There is no will need to implement far too considerably pressure as the spinning buff really should be carrying out the do the job for you. For the most effective effects, your sprucing mop should really spin at 3,000 RPM or considerably less for the most consistent benefits. Get the job done just underneath the centre of the buff wheel. If you operate much too high, this will bring about the wheel to seize the item from your hand.
Action Six: Change To A New Sharpening Mop For Greatest Impact
Continue on sprucing your total piece and including additional polishing compound to the wheel as expected. Start out to work through to the softer buffs and finer sharpening compounds. As you improve your polishing compound, swap to a new sprucing mop for the best final results. Keep on this approach till you eliminate all scratches and attain the wanted end for your piece.
Stage Seven: Finalise and Clean up
As soon as you have finished sharpening your piece with the very best compound, you are going to require to rinse the steel so that the polishing compound residue is eradicated. Use warm soapy water to get rid of any excess and dry the piece with a soft fabric or an ultrasonic cleaner.
After you have an knowing of how to use a sprucing mop and sprucing compounds effectively it would be advisable to invest in a trustworthy sharpening motor and some sharpening motor equipment to streamline your jewellery making method and develop the professional finish for your prospects.
